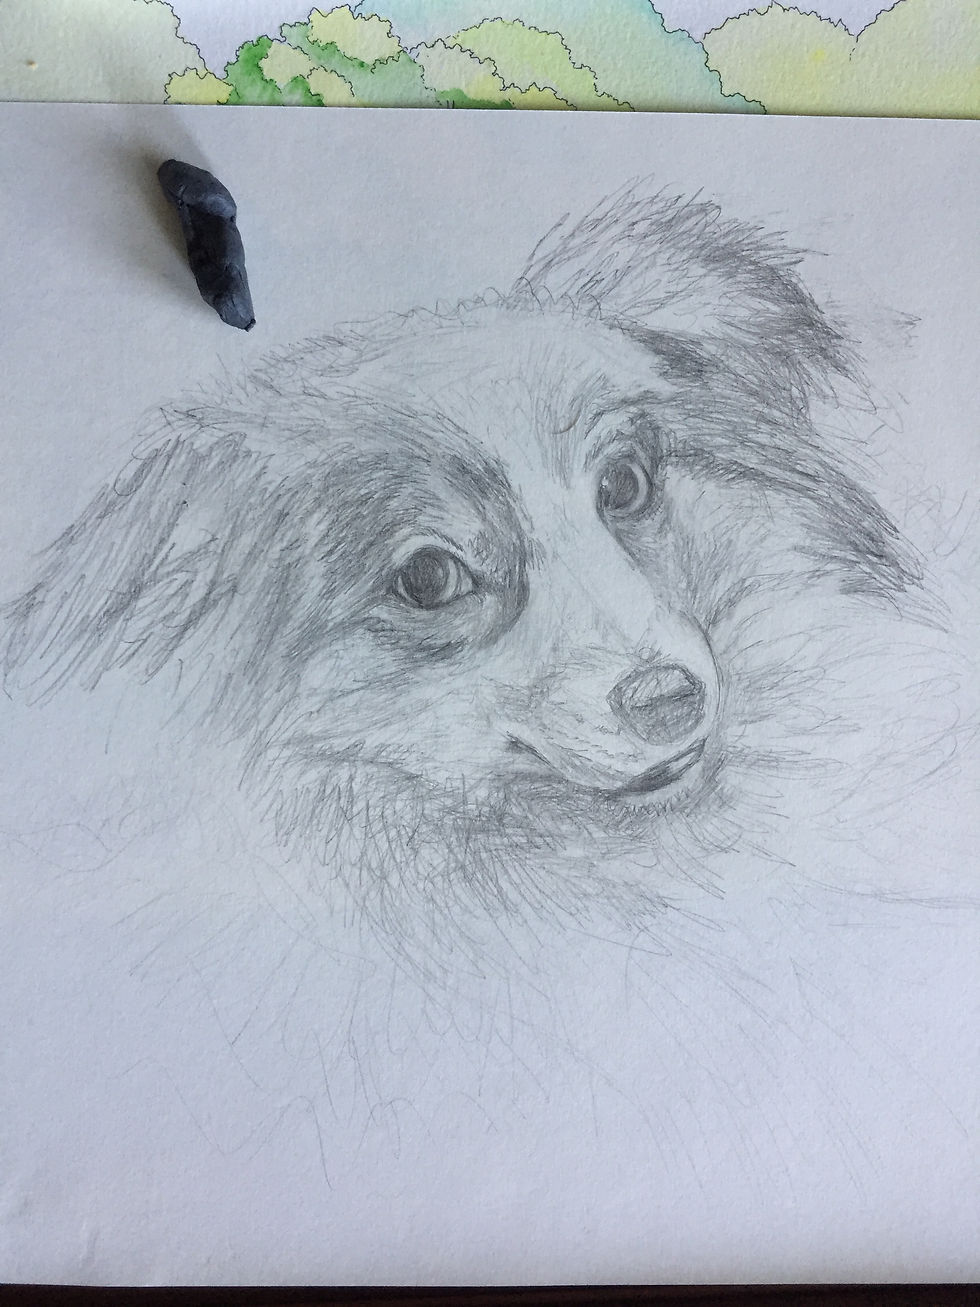
Newest Pet Portrait, Elliey the Aussie
- Sam Fontaine

- Aug 24, 2022
- 2 min read
Hey! I finally captured some decent photos during the process of a pet portrait!
This portrait was created with relative ease because I've finally been settling into a work flow, not to mention all of the practice I've been doing in my sketchbooks. Scroll down and read the captions to read what each step is, the final completed portrait is as the very bottom.

As always I begin with a sketch to capture the animal's form.

I make sure that the sketch is as lifelike as possible because this serves as the basis for the coloration. Everything must be in order before this phase is complete, shadows, textures, etc.

From here I fasten the sketch to a piece of fresh drawing paper. This is to endure that the graphite doesn't move while I use my light box to trace with the selected colored pencils.

Once the major forms, texture and color blocks are established on the fresh paper, I take the graphite piece off of the colored pencil paper. At this point the tracing portion of the portrait is complete.

From here I use photos to guide me in the saturating, shading and texturing the portrait.

After several layers of coloring, saturating and texturing, the animal portion of the portrait is complete. From here it's only a matter of filling in the background and closing in the background color of the portrait around the animal and the outer edges of the fur.

Once the edges are feathered a bit and the outer edges of the fur have been solidified against the background, it is complete!
Once the portrait itself is done, I cut two sheets of cardboard to the dimensions of the portrait and sandwich the portrait between them and tape them together. This ensures safety in the event that the portrait is roughed up a little in post transit. But thats pretty much my process and work flow. I might show off the progress photos of some future portraits at some point, but I feel that my next blog posts will more likely be about the technical aspects of drawing. Until then, have a great day everyone!


Comments